Vaults are used to restrict access to items e.g. Cards, Boards, Kanbans, Lists, Documents & Media.
Every Lumi User has a Personal Vault, and you can create a Team Vault to limit the access to specific items to a group within your Lumi Project.
To create a new team vault, go to Vaults by pressing the shield icon in the column on the left and then press the plus 
Give your Vault a name, then "Add".
This is your new Vault! You are the only one in here, as the owner, you can add some other users.

Press the plus button in the Vault heading and search for users in Lumi to add.

To remove a user from the Vault, press the bin icon next to their name.
You may want to change the owner of the Vault as they are responsible for adding and removing users. As the owner, you can edit the owner by pressing the pen icon next to your name, then the cross next to your name, search for another user and "Assign Owner".

.
Adding Items to Vaults
Adding Cards, Boards, Lists and Kanbans to a Vault:
To add one of these items to a Vault, enter the item e.g. a Card, press the dropdown menu between the notifications bell, and the three dots  then "Add to Vault" and select which Vault to add it to.

The item will become inaccessible to anyone not in the Vault.
Note: You cannot add a card to a Private/Personal Vault unless you are the owner of that card.
.
Adding Documents & Media to your Vault:
Go to the Project Library by hitting the bookcase icon on the far left
Then find your File
Press on the button with the three little dots next to it and select Add to Vault

Find your Vault and hit save 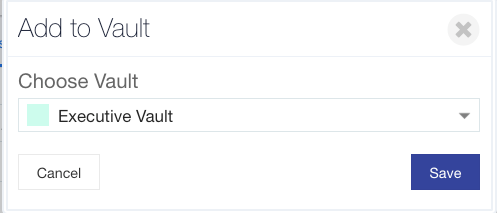
You'll now notice this Vault icon wherever this document exists, and only users in that Vault will be able to see it.

.
.
Add Multiple Items to a Vault
You can change the access of multiple items to a Vault at once via the bulk actions menu in your Project Library.
Go to your Project Library via the bookcase icon in the left-hand column.

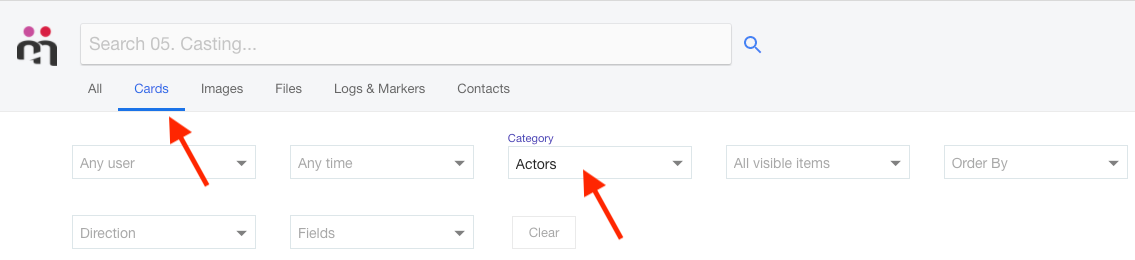
Filter your search by typing into the search bar or filtering by Cards and a Card Category in your Project from the dropdown menu. You can filter by Fields or hashtags or anything else you have used to identify which items you want to add to a Vault.
From this search, select one item and the bulk actions menu will appear in the top right corner. Select the double ticks to select all items in your search.

After you have selected all of your items, press the Vault icon in the bulk actions menu.

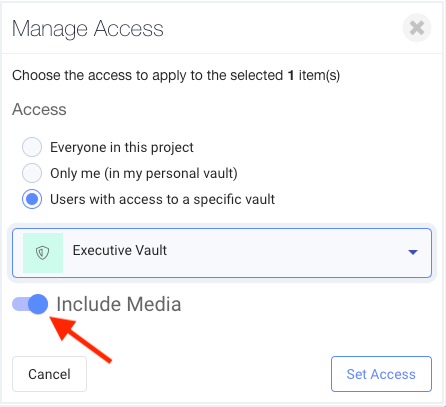
This will open a window that lets you manage the access of all of these items. They are currently set to "Everyone in this project" allowing everyone with access to the project access to these items. Press "Only me" to put them in your personal Vault (this will restrict the access to all of these items to anyone in your project except for you) or "Users with access to a specific vault" to set the access to a team Vault with multiple users.

If you hit the third option, it will let you select an existing Vault that you have access to in your Project from a dropdown menu (you cannot add items to a Vault that you do not have access to). You will notice "Include Media" is automatically turned on, so that when you Vault these Cards all of the attached media will also be added to the Vault. To turn that off click the slider. When you have made your selections hit "Set Access" in the bottom right corner to save.
Accessing Items in a Vault
You can access your items anywhere in Lumi, you don't need to go to your Vault to find them. They will just be hidden from anyone that doesn't have access.
Or, you can click into your Vault from the Vault page and it will take you to the Project Library showing you everything in that Vault.

Was this article helpful?
That’s Great!
Thank you for your feedback
Sorry! We couldn't be helpful
Thank you for your feedback
Feedback sent
We appreciate your effort and will try to fix the article